A good painter can make many carpenters look much better than they actually are. At the end of the day, the truth is in the details. It will become evident down the road when the paint or caulk fails. The truth is, there are hundreds, if not, thousands of these unseen details in every home that is built by any builder. The difference between something good and something great is the attention to detail.
One of these details is the common miter joint. There are typically dozens of miters in every home. You can have miters in your door and window casing, miters in your flooring, miters in your baseboard, and so forth. Miters are used because they allow us to wrap profiled trims around a corner providing a continual flow around the edge, and they hide unpleasant end grain. They are quick and pleasing to the eye when done correctly. It’s a fundamental skill for most finish carpenters and one that most can be easily judged. When done incorrectly, it can quickly and negatively affect the final appearance of the home.
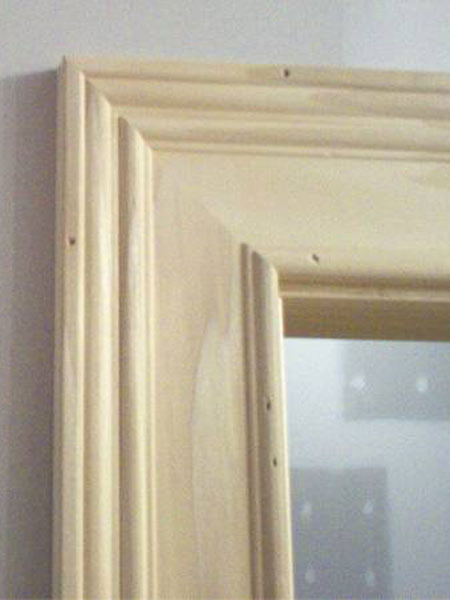
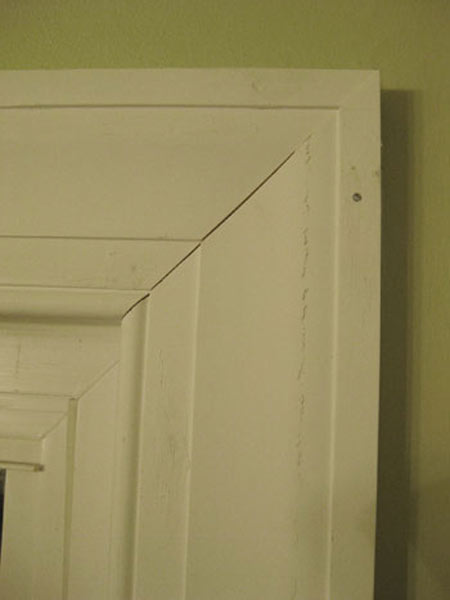
When it comes to the miter, the difference between and good miter and a great miter goes way beyond the appearance. Many times, the interior trim is milled from different species of wood. A characteristic of all wood is that it expands and contracts with shifts in temperature and humidity. That shifting means your wood trim moves throughout its life. Shifting can crack, and open miters creating a challenge when attempting to make a trim install look great for years to come.
A good carpenter will be able to cut a perfect miter that, when installed, will be nice, tight, and perfectly flush. The detail will be easy to see immediately, but how will that miter perform throughout the years? Will it look as good in one year as it does today? In five years? In 20 years? A great carpenter will take the extra steps to reinforce that miter to give it a much better chance of staying together and looking nice over its life. Knowing they have hundreds of miters to execute to perfection in a single house, a phenomenal carpenter will find a system that reinforces these miters in a quality and efficient manner that keeps the labor costs down for the homeowner.
There are multiple ways to reinforce the miter joint, and truthfully, many of them are great and will perform well. One way that we have found to do it balances quality and efficiency. Our system is comprised of three components; a perfectly cut miter, polyurethane hot melt glue, and clamping pressure
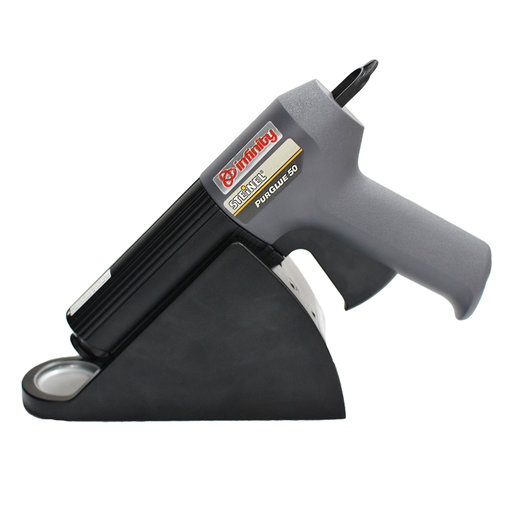
Polyuretheane Hot Melt Glue
The star of this joint is the glue. Polyurethane hot melt glue is a hot glue stick on steroids. It is melted in a heat gun and applied to the miter. When clamping pressure is applied, the glue dries instantly and provides an instant bond. The clamps can be removed, and the casing can be transported without breaking.
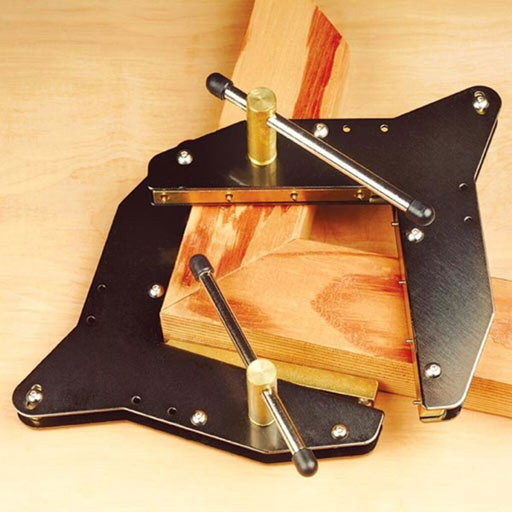
Miter Clamp
Now, clamping a miter can prove to be a difficult task as you need to apply pressure at a 45-degree angle. We use specially designed miter clamps that apply diagonal pressure for the few seconds it takes for the glue to set.
The benefit of this polyurethane glue is the high bond strength to the end grain that exists within a miter joint. Many other adhesives absorb into the wood and fail to make an exceptional bond. Secondly, the glue has a flexible trait to it. With the flexibility and high bond strength, the glue can handle the movement of the miter and still keep its hold. It drastically improves the chances of the miter to stay together for a long time keeping its exceptional original look.
The next time you look at a door or window casing, you can inspect the miters. Are they still looking good? If they are, you can wonder what unseen detail the carpenter went above and beyond on to ensure that miter is still looking good to this day.
Want to learn more? Get in touch!
If you are interested in this and other unseen details, and a builder that loves making sure all they are completed to perfection for your next project, please contact Simon Builders today.
